Blog
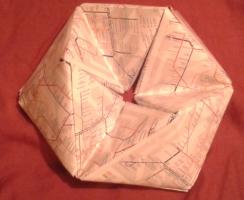
Tube map kaleidocycles
2016-09-06
This is the fifth post in a series of posts about tube map folding.
After my talk at Electromagnetic Field 2014, I was sent a copy of
MC Escher Kaleidocycles by Doris Schattschneider and Wallace Walker (thanks Bob!).
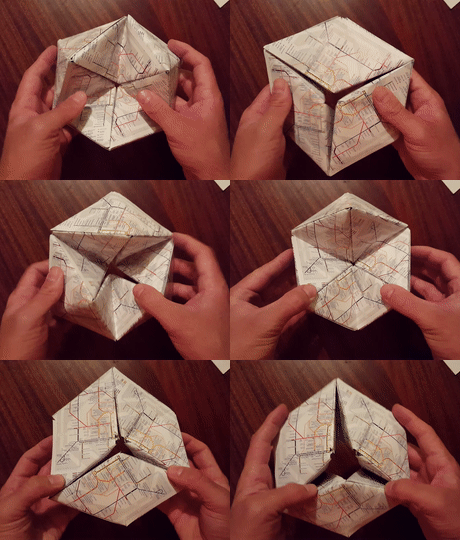
A kaleidocycle is a bit like a 3D flexagon:
it can be flexed to reveal different parts of itself.
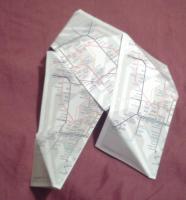
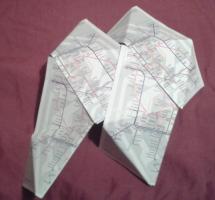
In this blog post, I will tell you how to make a kaleidocycle from tube maps.
You will need
- 12 tube maps
- glue
Making the modules
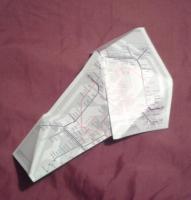
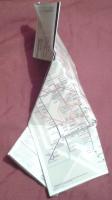
First, fold the cover of a tube map over. This will allow you to have the tube
map (and not just its cover) on the faces of your shape.
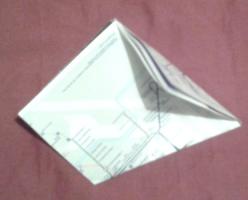
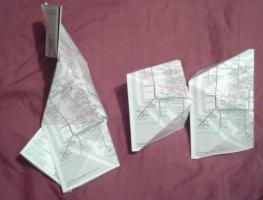
With the side you want to see facing down, fold the map so that two
opposite corners touch.
For this step, there is a choice of which two corners to connect: leading to
a right-handed and a left-handed piece. You should make 6 of each type for your
kaleidocycle.
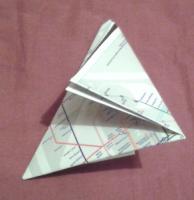
Finally, fold the overhanding bits over to complete your module.
The folds you made when connecting opposite corners will need to fold both
ways when you flex your shape, so it is worth folding them both ways a few times
now before continuing.
Putting it together
Once you have made 12 modules (with 6 of each handedness), you are ready
to put the kaleidocycle together.
Take two tube maps of each handedness and tuck them together in a line.
Each map is tucked into one of the opposite handedness.
The four triangles across the middle form a net of a tetrahedron. Complete
the tetrahedron by putting the last tab into the first triangle. Glue these
together.
Take two more tube maps of the opposite handedness to those at the top of the tetrahedron.
Fit them into the two triangles poking out of the top of the tetrahedron to
make a second tetrahedron.
Repeat this until you have five connected tetrahedra. Finally, connect the
triangles poking out of the top and the bottom to make your kaleidocycle.
Previous post in series
This is the fifth post in a series of posts about tube map folding.
(Click on one of these icons to react to this blog post)
You might also enjoy...
Comments
Comments in green were written by me. Comments in blue were not written by me.
Add a Comment

